Before we dive into the sparkly journey of creating Crystal Tides, I’ve got to spill the glitter: these pieces wouldn’t exist without my husband’s amazing original—Crystal Aurora. His Aurora Borealis-inspired masterpiece blew me away and had me itching to try my own spin on light, color, and texture (and yes, a disturbing amount of glitter).
From my husband’s visionary approach to color, shimmer, and tactile texture, “Crystal Tides” was sparked—my own personal spin on those ethereal blues, radiant crystals, and (let’s be honest) about ten thousand touches of glitter. These pieces are my love letter not only to the magical beauty of the aurora, but also to the artist who inspired me most: my husband.
Ready to see how these glittering waves came to life? Let’s go behind the scenes…
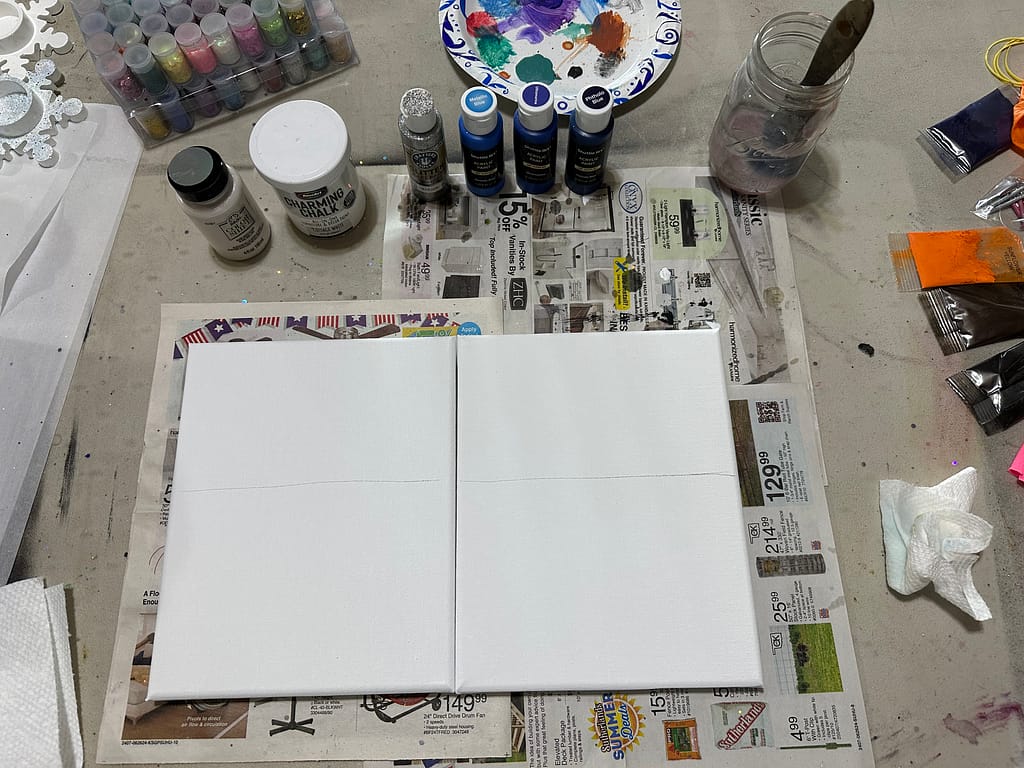
Step 1: The Blank Canvas (aka, The Intimidation Station)
Every masterpiece starts with two completely intimidating, judgmental blank canvases. You know the type. So, naturally, I freehanded some pencil lines across them—super wobbly, but I like to call it “organic.” (Perfection is for robots and Pinterest, anyway.)


Step 2: Meet the Paint Lineup
Next, I introduced the stars of the show: White, Blue, Metallic Blue, and an extra-dark Blue for when the drama was needed. Pro tip: Always take a picture of your paint lineup before they get everywhere.
Step 3: A Study in White
With a steady-ish hand, I laid down the white paint. It’s the blankest blank, but somehow more exciting because it’s intentional.

Step 4: Blue Gets the Blues
Then came the blue paint! I splashed it on with gusto, covering the sea section and channeling my inner ocean documentary narrator.

Step 5: Blend Like Nobody’s Watching
Here’s where things get squishy. I dragged those blues and whites through each other because, much like my life, I like my colors blended, not compartmentalized. Smudgy, streaky, and—miraculously—kind of beautiful!

Step 6: Drama Department (Darken the Blue!)
Not dramatic enough? I deepened the blue. Suddenly, the piece had the emotional range of a moody indie film.

Step 7: Crystals, Glass, and Glitter—Oh My!
I rehearsed a little crystal dance on the canvas to decide placement. Is there such a thing as too many sparkles? (The answer is no. Never.)
Step 8: Go All-In on Glitter and Gems
Once I figured out where all the crystals, glass, and glitter should go, I started decorating one canvas first—just to test things out and make sure everything stayed in place. (Good news: the process went smoothly and nothing went wrong!)

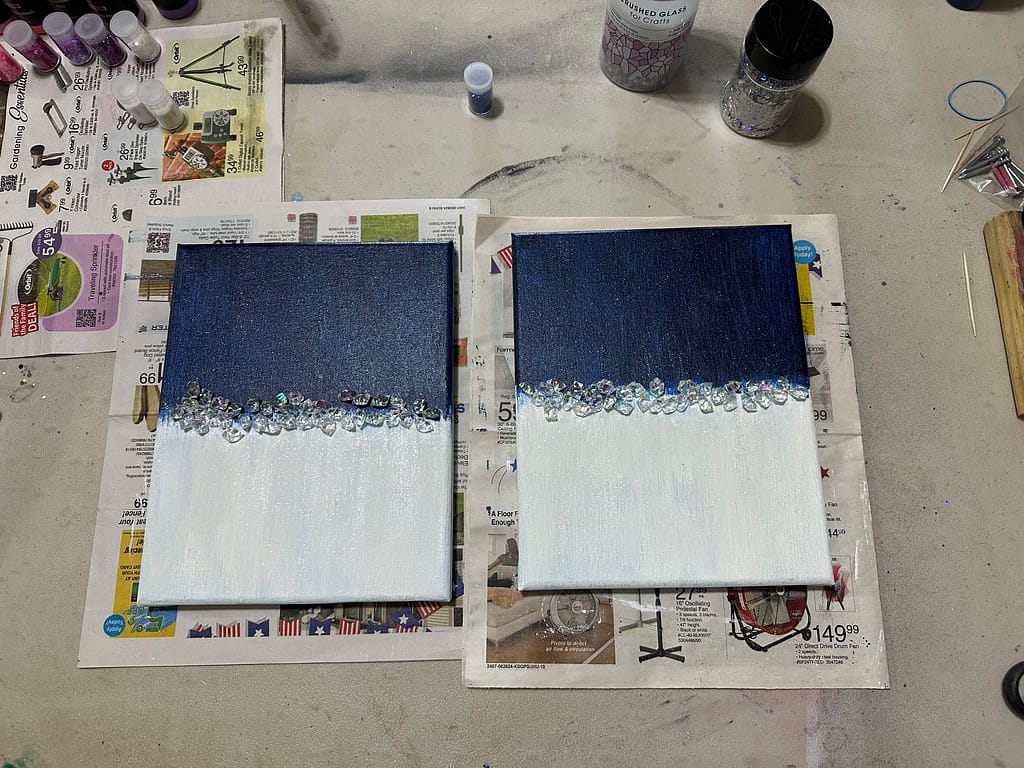
Step 9: Double Trouble—Both Canvases Done
Repeat the sparkle treatment for the second canvas, and—bam!—twin tides of texture and shine.

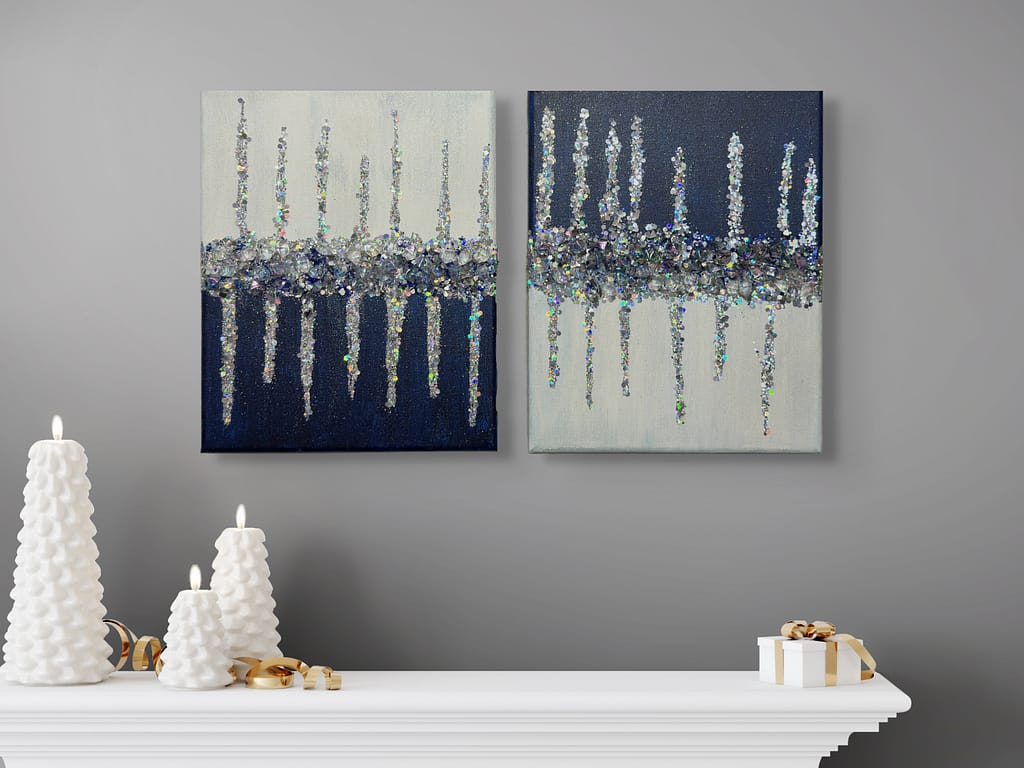
Step 10: “Final” Reveal
Once the glitter settled, I took some seriously “adulting artist” photos for my Etsy shop—because nothing says professional like perfectly staged sparkle.
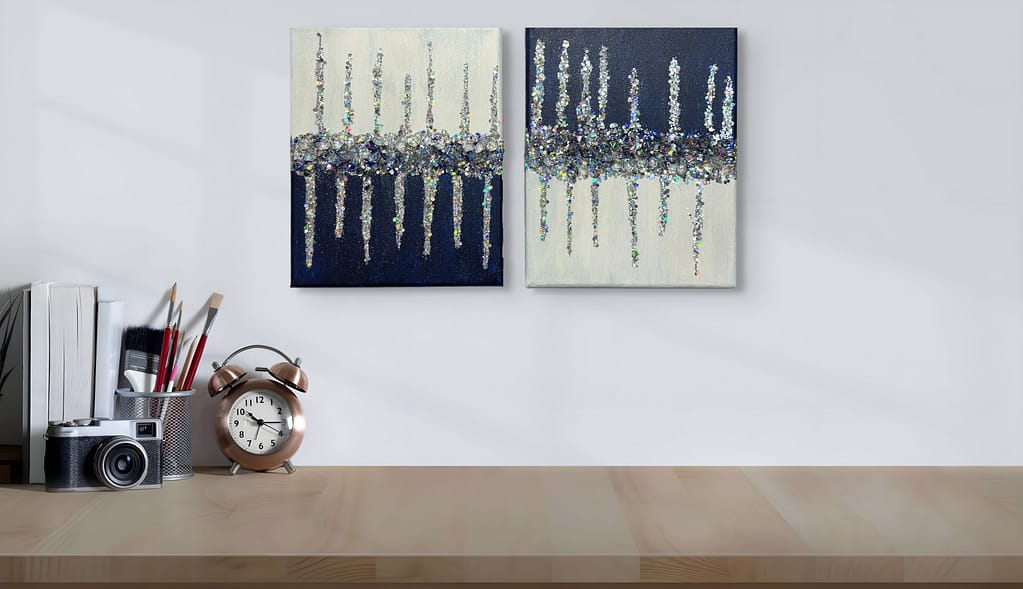


Want to See More (or Own Your Own Tides)?
You can find the finished “Crystal Tides” set on my Etsy shop—staged, sparkly, and slightly less chaotic than my work table.
Have any questions about the process, or want to know how much glitter is too much glitter? (Again, there’s no such thing.) Drop a comment or send me a message—I’ll answer, unless my hands are covered in glue.
Thanks for coming along for the creative (sometimes slightly chaotic) ride!